


Import SQL files into a MySQL database
The import process allows you to securely restore your backed-up database.
In this article, we will explain step by step how to import your database.
1- Log in to the Customer Control Panel:
- Log in to the Atak Domain customer control panel.

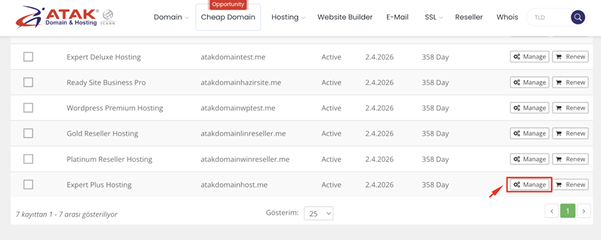
2- Select Your Hosting Account:
- Click the “My Hostings” button in the Atak Domain Customer Control Panel.

- Click the Manage button next to your hosting service.
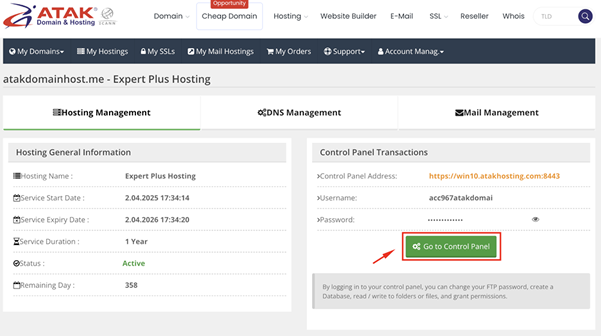
3- Connect to cPanel:
- On the “Hosting Management” page, click the Go to Control Panel button to access cPanel.
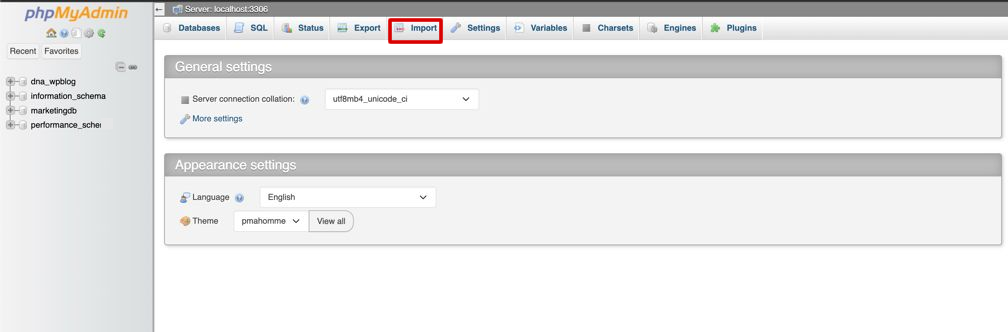
4- Access phpMyAdmin:
- On the main page of cPanel, find the Databases section and click on the phpMyAdmin icon.

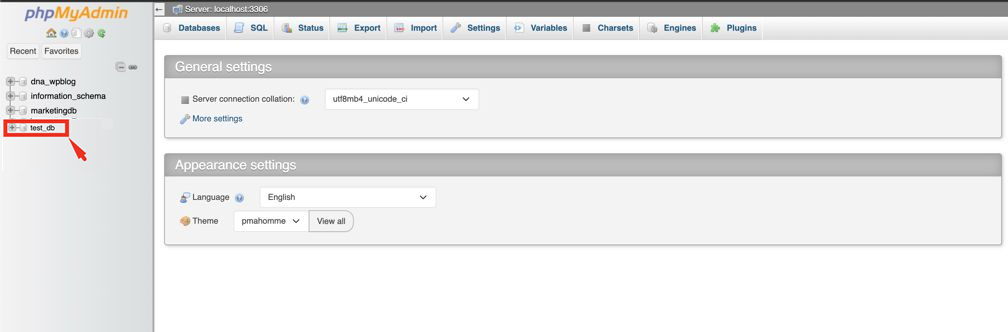
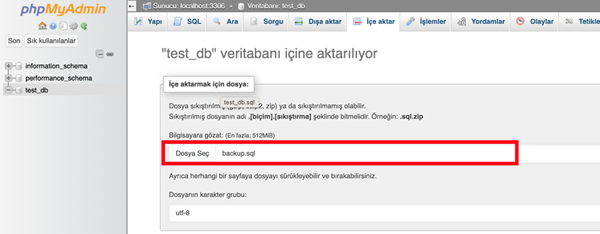
5- Select Your Database:
- When phpMyAdmin opens, you will see a list of your existing databases on the left. In this example, the database is named test_db.
6- Import:
- Click the Import tab on the top menu of phpMyAdmin.
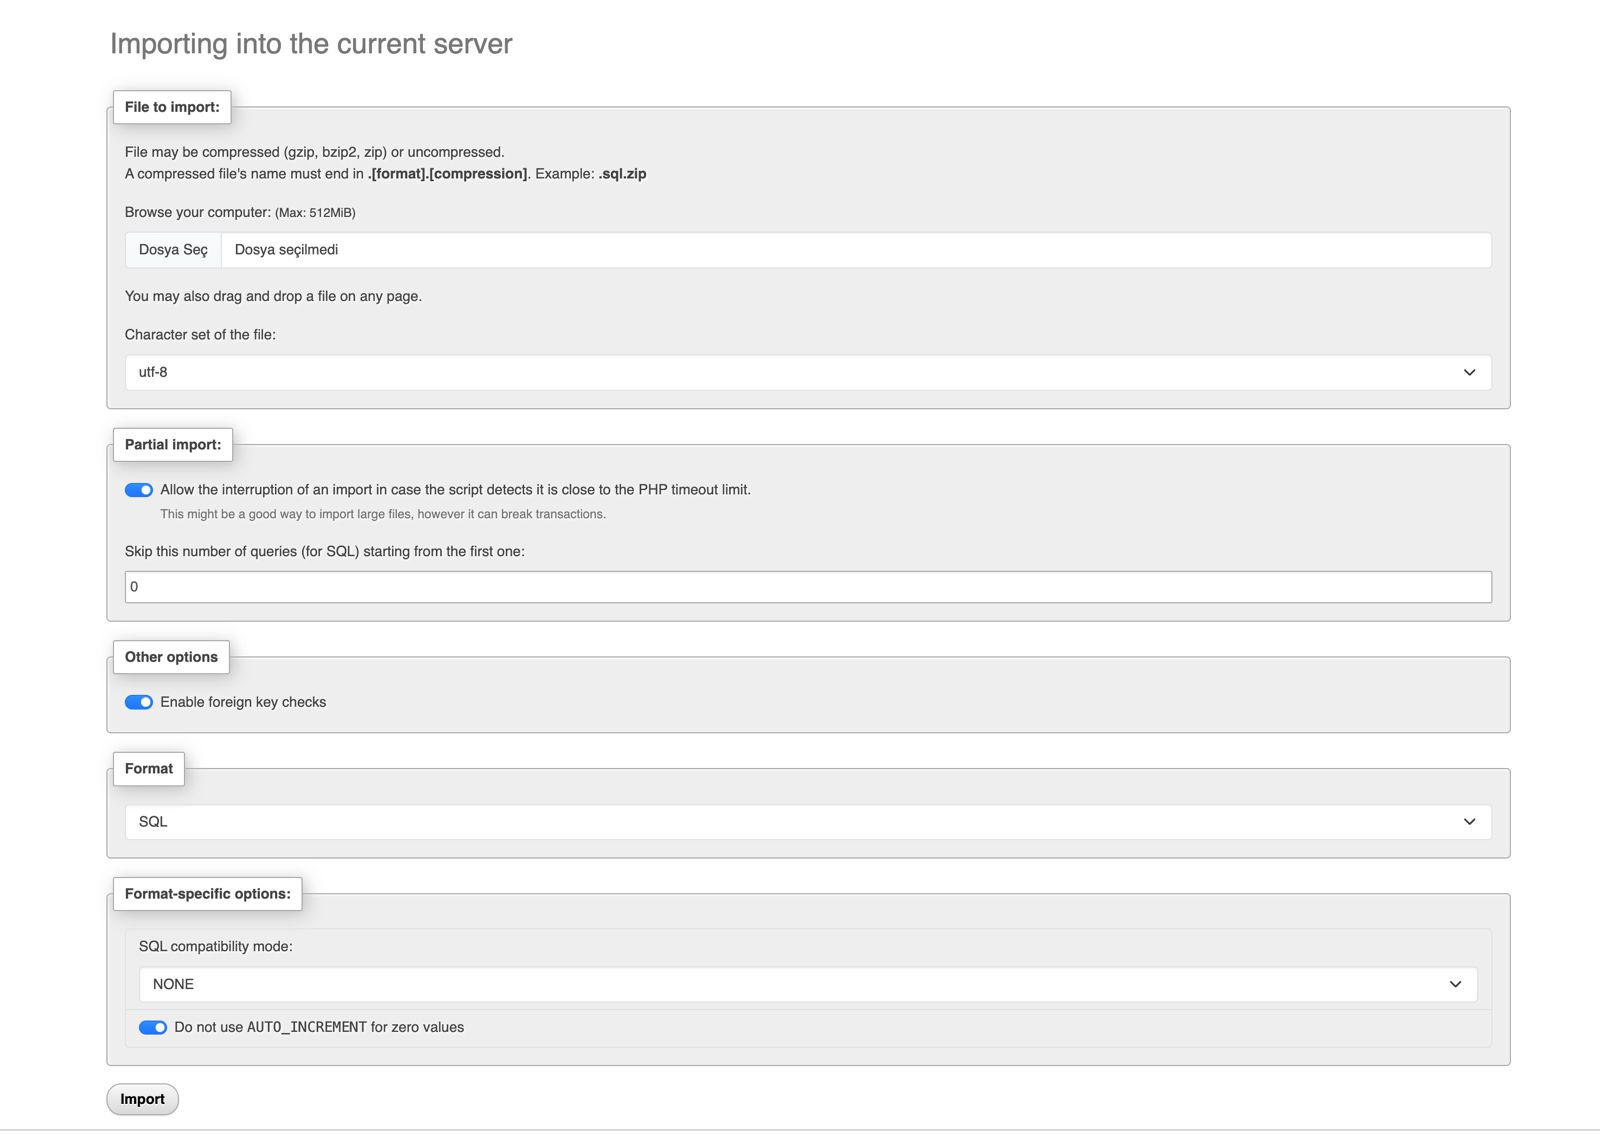
- Under the file upload section, click Choose File and locate the .sql file on your computer that you want to import. In this example, the database file is named backup.sql.
- The default settings are sufficient for most users. However, if you're using a different character set or format, you can adjust the charset and format options
- Click the Import button at the bottom of the page to import the database.
- When you click the Import button, phpMyAdmin will import the SQL file. Depending on the size and content of the file, this process may take a few seconds or a few minutes.
- Once the import is complete, phpMyAdmin will display a success message. New data will be added to your database and tables will be created.

Congratulations! You have successfully imported your SQL file into your MySQL database.
Random Articles

VIP alternative to WordPress: the benefits of choosing Atakdomain
22.12.2021
Django or WordPress?
02.12.2021
Domain Name Expirations: What You Need to Know
26.04.2021
Rebranding with a New Domain? Here's How to Retain SEO & Brand Equity
04.11.2025
15 Interesting Ways to Use WordPress Forms
30.06.2022