
How to Create a Subdomain in Plesk?
In this article, we’ll walk you through the step-by-step process of creating a subdomain under your Plesk control panel account.
First, let’s define what a subdomain is.
A subdomain is a section under a primary domain. For example, while www.atakdomain.com is the main domain, blog.atakdomain.com is a subdomain.
To Create a Subdomain in Plesk:
1- Log in to the Customer Control Panel:
Log in to your Atak Domain customer control panel.

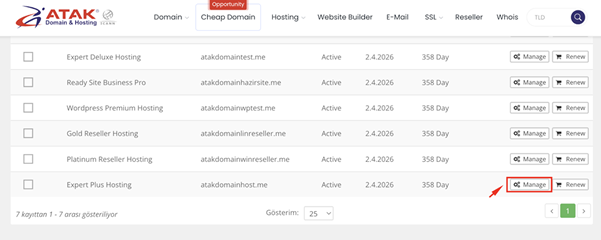
2- Select Your Hosting Account:
Click on the “My Hostings” button in the Atak Domain Customer Control Panel.

-
Then click the Manage button next to your hosting service.
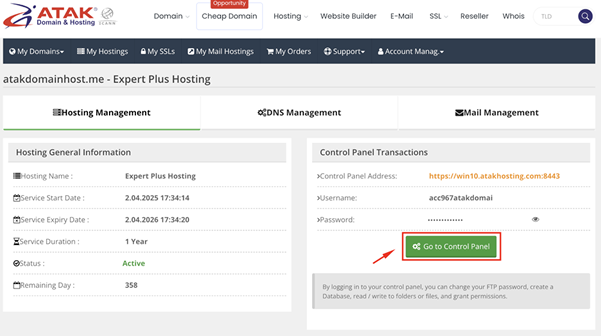
3- Access Plesk:
On the "Hosting Management" page, click on the Go to Control Panel button to access Plesk.
4- Create a Subdomain:
From the left-hand menu, select Websites & Domains .
Click the Add Subdomain button.
In the Subdomain name field, enter the subdomain you want to create. (In this example, we created blog.atakdomainhost.me.)
Click the OK button to save.
Congratulations! You have successfully created your subdomain.
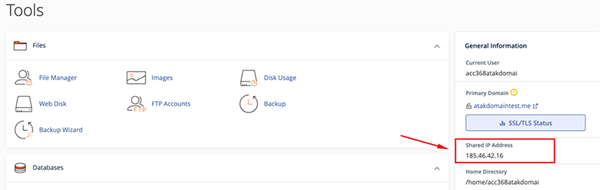
Note: When creating a subdomain, you must also create an "A Record" where your NS records are hosted. Make sure the A record for the subdomain points to the shared IP address of your Plesk server.